
In this sub section of the Commerce feature we are going to want to navigate to the My Categories section found under the sub menu heading of Catalog.
In here we are going to want to add in the categories for the items that could be services or in our example food types that the business premises will be selling. This My Categories option is what will link with the Products that we add to the business and this is our way of organising the items in the directory.
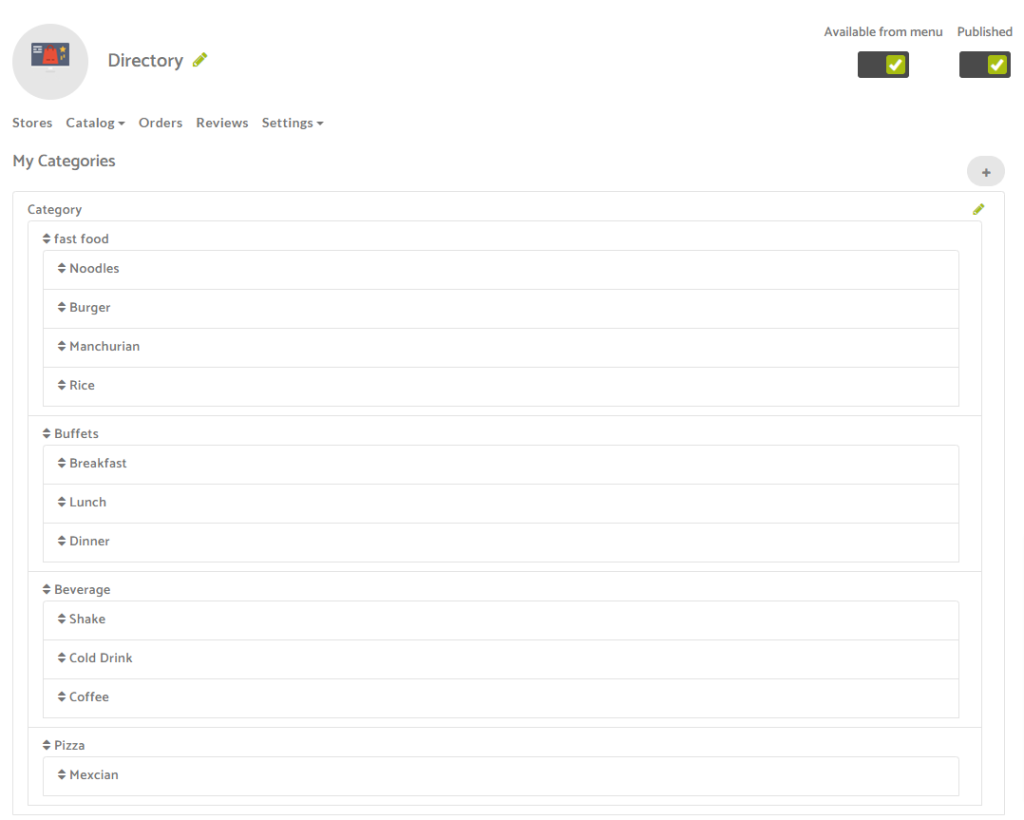
As you can see in the image below, these are the categories that we will assign the products to, and we will also assign these categories to the business listing on the Stores page.
This is why we recommended on the Stores page tutorial that you only set up a couple of businesses and then proceeded here to see how to add the categories just so that you didn’t have to go back in and edit a number of businesses to assign the categories to them.
Here’s what we have set up in our example directory app.
Featured Images for Categories
When you are looking to upload an image or icon to use as a category image like the ones shown here –
Please ensure to use a canvas size of 640px Wide by 400px High and then use an icon that is 256px high and wide and place that in the centre of the canvas so that it looks like the below.