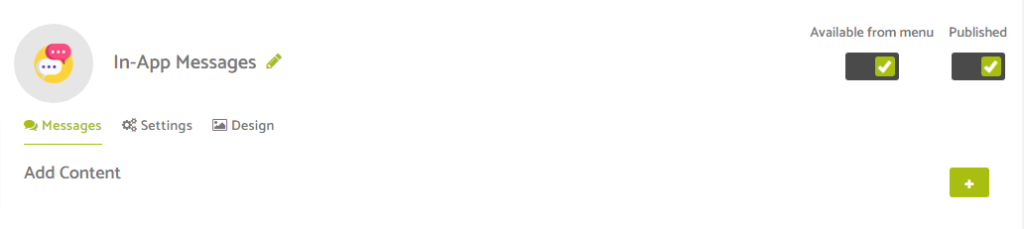
To send a message using the in app messages feature, you first need to select the messages tab whilst inside the feature.
You will then need to click the plus icon in line with the Add Content heading.
From here you will need to provide a Title for your message and the Text Content of your message.
You can also click the Insert A Cover Image button to add a cover image to your message.

Once you have added in the content you want to send as your message like the below:
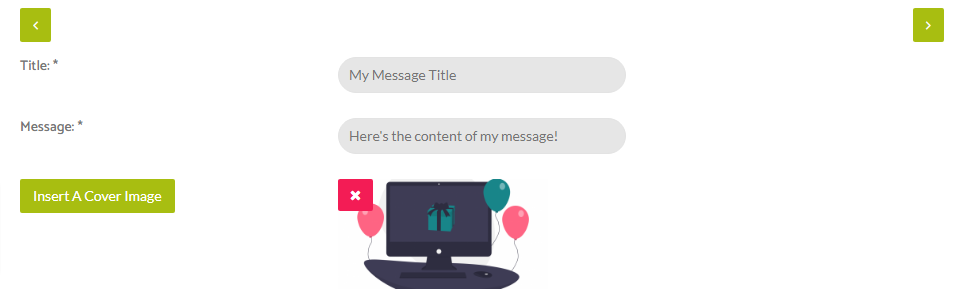
You will need to click the right arrow (in the top right of the image above) to move to the next section of requirements for your message.
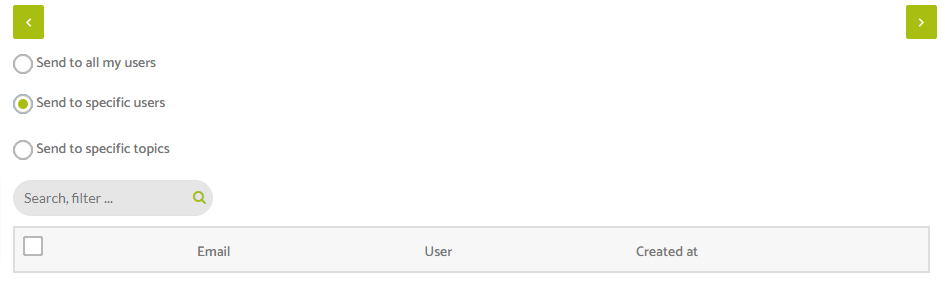
The next set of options are who you want to send the in app message too.
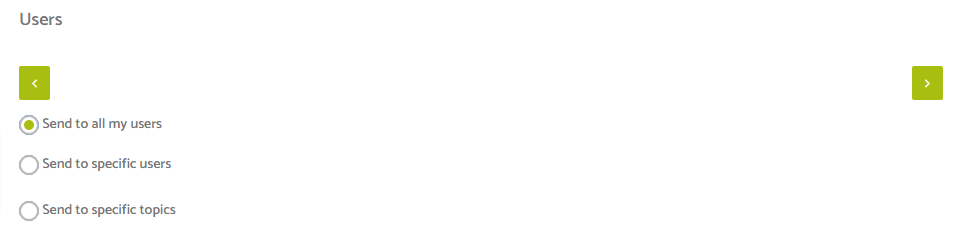
If you choose to send to specific users you will see a new filterable option panel appear below where you can see and choose the user(s) you wish to send to.
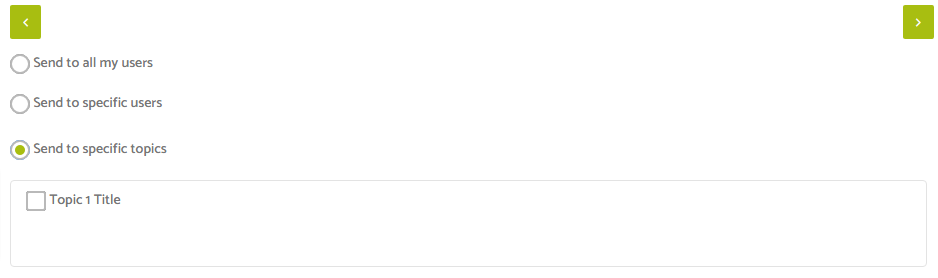
The final option you have is to choose to send to specific topics if you have that feature active within your application.
After choosing the audience the message is to be sent to, click the right arrow (in the top right of the image above) to move to the next section of requirements for your message.
You will then need to set an expiration date for the message, after which the message is removed from the app. We recommend a period of no longer than 7 days if the in app messaging system is used frequently i.e. daily.
You will then need to provide the details of when you want to send the message you have created.
You can choose to send the message immediately by choosing the now option or you can choose to send the message on a specific date. If you choose the specific date option you’ll be presented with a date and time picker.
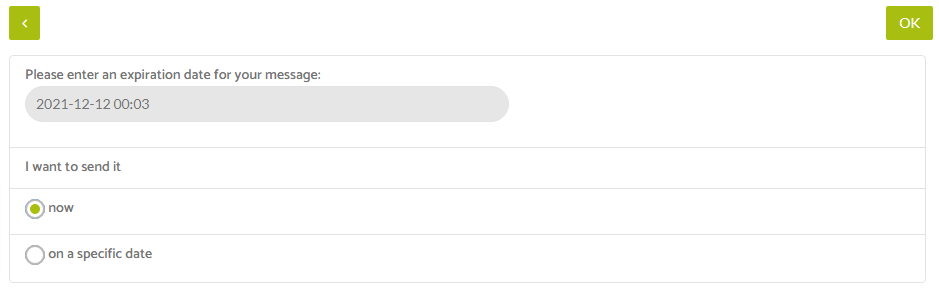
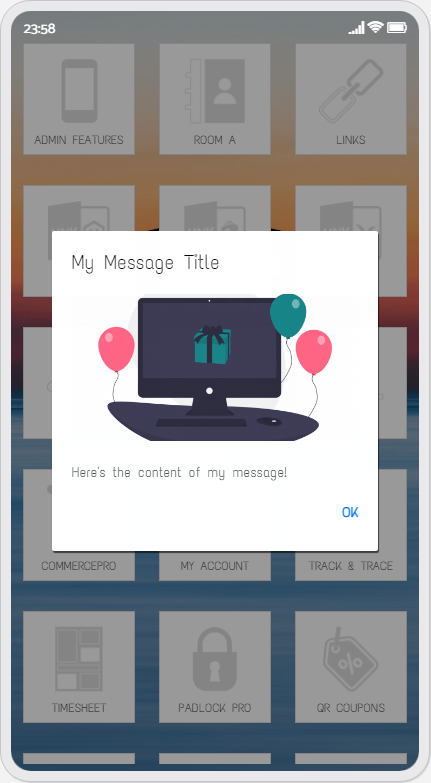
You can then click the OK option in the top right corner and your message will be sent immediately if you choose to, or on a specified date if you selected that option instead.
Your message will look like this for an app user when they receive the message.