
In the Location tab you can Manage existing locations or add new locations.
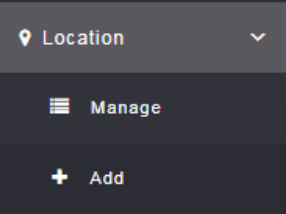
To add a location, click on the + Add option.
This will allow you to add new locations of your business for delivering the services and classes to the clients from various locations. If there is only a single location then you’ll only need to do this section once.
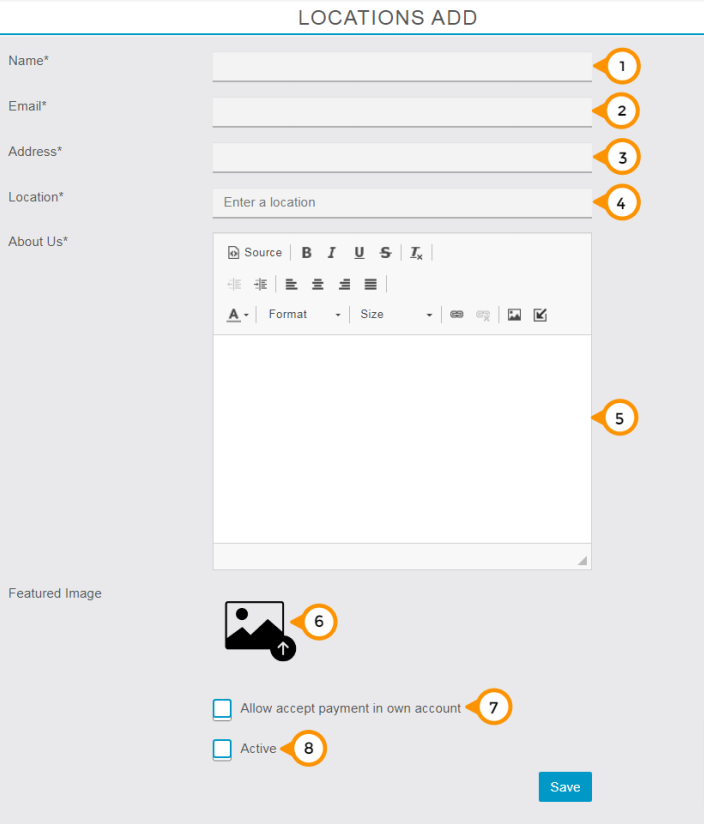
1) You need to enter your location name here.
2) you need to enter the email address of the store or branch manager to get the updates via email.
3) You need to enter the address of your location here so that your client knows your location.
4) You need to enter or select the suggested Geolocation of your branch to show the accurate distance from the app user.
5) You Need to share small brief about the business and services you are offering.
6) Here you can upload the featured image of your location.
7) By checking this option you can enable the accept payment on location wise means customer will able to pay directly to the branch’s account instead of admin’s account.
Note: if you are not setup any payment settings on a particular location and simply check marked here and allow accept payment in own (location) account. In that case while customer try to do booking it will not work due to lack of payment settings the message will show no payment gateway is available.
8) By checking / unchecking on active check box you can enable or disable this location in the App.